Step 1: Organizing Imagery
It’s important that images are carefully organized. All images that are to be analyzed together, or your "image dataset", should have the same root folder and can be separated into sub-folders under the root. Below is a suggested folder structure, however it may vary depending on the setup of your project’s deployments and retrievals.
ProjectName/
├── Springfield/
│ ├── Deployment_20240319/
│ │ ├── Camera1/
│ │ └── Camera2/
│ ├── Deployment_20240425/
│ │ ├── Camera1/
│ │ └── Camera2/
├── Fairfax/
│ ├── Deployment_20240512/
│ │ ├── Camera1/
...
In this example, a new retrieval folder is created for each camera check. The retrieval folders serve as the root folders for your image dataset. All photos from an SD card should be placed at the lowest folder level. For instance, photos from an SD card pulled from Camera 1 on March 19, 2024, would be copied into Springfield/Deployment_20240319/Camera1. This structure makes it easier to organize new imagery as additional retrievals are added.
Handling SD cards with more than 10,000 images
Many camera models name images using a four-digit counter (e.g., IMG_0001.JPG → IMG_9999.JPG).
When more than 9,999 images are captured on a single SD card, the camera automatically creates an additional folder on the card and continues numbering from IMG_0001.JPG again.
When copying imagery from the SD card:
- If there is only one folder containing images, copy the images directly into the camera folder.
- If there are two or more folders containing images, copy the folders exactly as they appear on the SD card into the camera folder rather than merging their contents.
Do not combine the images from multiple folders into a single folder. Because filenames repeat (e.g., IMG_0001.JPG), merging folders can:
- Overwrite files, resulting in permanent data loss, or
- Cause the operating system to rename files (e.g.,
IMG_0001 (1).JPG), making it difficult to determine whether files are duplicates or distinct images.
Preserving the original folder structure ensures that all images are retained and prevents confusion during later processing.
Example folder structure
ProjectName/
├── Springfield/
│ ├── Deployment_20240319/
│ │ ├── Camera1/
│ │ ├──── 100_BTCF/
│ │ ├──── 101_BTCF/
│ │ └── Camera2/
│ ├── Deployment_20240425/
│ │ ├── Camera1/
│ │ └── Camera2/
├── Fairfax/
│ ├── Deployment_20240512/
│ │ ├── Camera1/
...
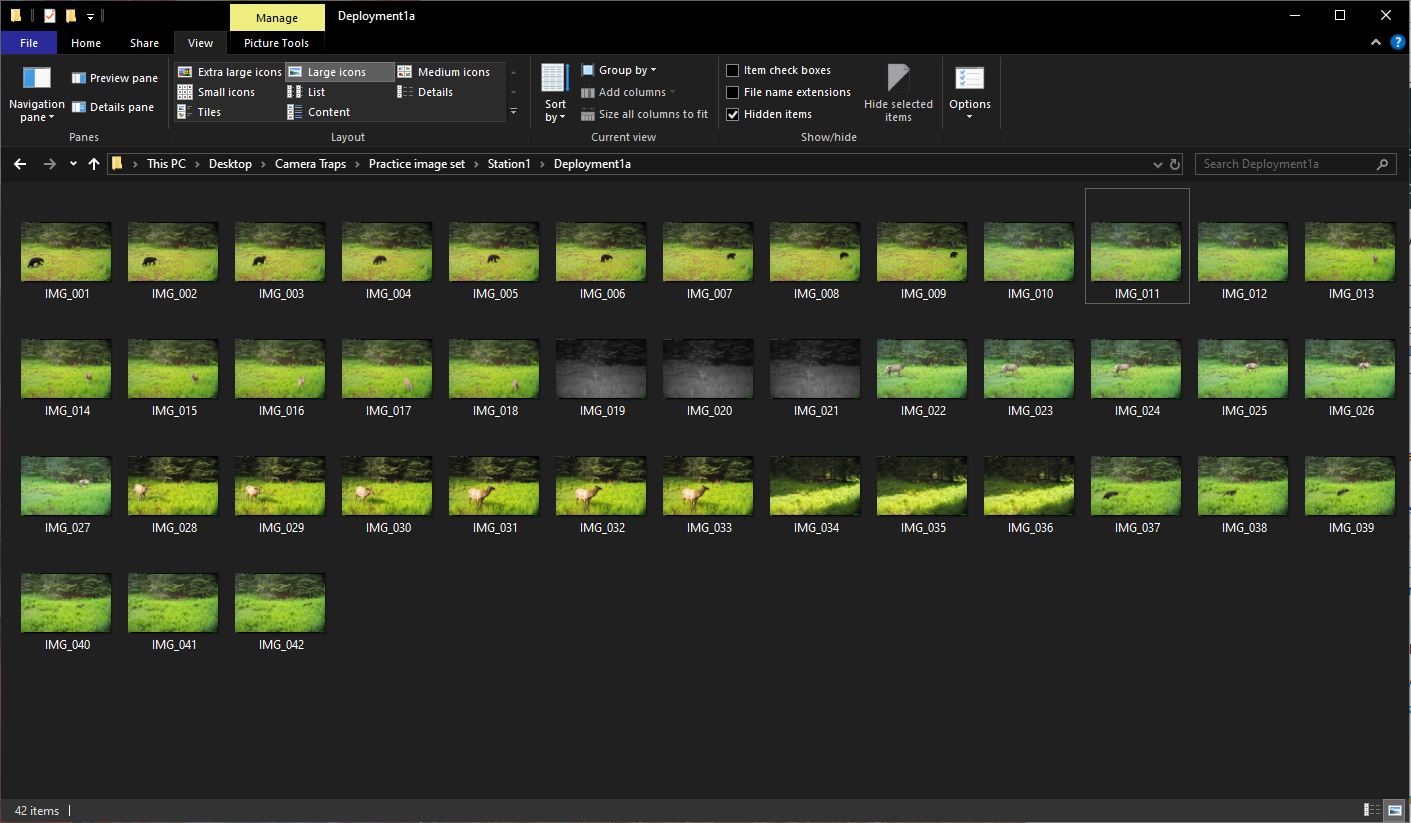 Example of a Timelapse project folder structure, using the practice image set.
Once you start a project in Timelapse, the software will create several files in your root folder:
- A project template database (
TimelapseTemplate.tdb) - A project data database (
TimelapseData.ddb) - A
backups/directory where Timelapse will periodically make data backups
Once you begin analysis in Timelapse, do not rename, move, or reorganize any folders or files within the root folder. You can move or copy the root folder itself.
Adding New Images to an Existing Timelapse Project
In many camera trap workflows, images are collected periodically as SD cards are retrieved from the field. These new images can be added to an existing Timelapse project without creating a new project or database.
1. Copy the new images into the existing project folder
First, copy the new images into the appropriate location within your project’s root folder. The new images should follow the same folder structure used for the rest of the project (e.g., station → deployment → camera).
For example:
ProjectName/
├── Springfield/
│ ├── Deployment_20240319/
│ │ └── Camera1/
│ ├── Deployment_20240425/
│ │ └── Camera1/ ← newly added images
Typically, SD cards retrieved "around" the same date go into a new deployment folder. This keeps images organized and makes it easier to track when cameras were checked or moved.
After you have started analyzing images in Timelapse, do not rename or reorganize folders that already exist in the project. Changing folder names or structure can break the connection between the images and the Timelapse database. However, you may safely add new folders containing additional images within the project’s root directory.
2. Add the new images in Timelapse
Once the images are in place on disk:
- Open the existing project in Timelapse.
- From the menu bar, select
File → Add image and video files to this image set… - Navigate to the folder containing the newly added images.
- Select the folder and click Open.
Timelapse will scan the selected folder and add the images to the project database.
If you have set up folder metadata and the new images do not match the existing folder sturcture, you will see a warning when adding the images. You can add a new folder metadata field in the Template editor or ignore this warning at your own risk. It is not clear how ignoring the warning might manifest when using the folder metadata and it is strongly suggested that you test this out before moving forward with labeling work.
3. Initialize metadata for new folders
If the new images are stored in a new folder (for example a new deployment), Timelapse will recognize that the folder has not yet been associated with metadata.
To complete setup:
- Select an image from the new folder.
- Open the Folder Data tab.
- Navigate to the appropriate level (e.g., Deployment).
- Click “Click to edit data for this folder” and fill in the metadata fields.
4. Continue analysis
After the images are added and folder metadata is initialized, the new images will appear in the normal browsing workflow and can be reviewed and annotated like the rest of the dataset.
This incremental workflow allows analysts to continually expand a Timelapse project as new deployments are retrieved from the field.